Restoration Guide

How to get the most out of the SPL Process
The SPL process is unique. We welcome visitors to our site and are keen to help each of our customers with help and advice about the process itself and how best to prepare each project to ensure the best results. It is paramount to us that our customers understand what they can achieve with our process and how it can be improved by following our recommendations. A shell and its panels are complex and intricate.
Each individual manufacturer offers a myriad of manufacturing design and techniques, some good and some not so good.
By following our recommendations we believe that you can achieve the removal of the vast majority of the rust in your project far more than any other process available.
Restoration Guide - Step One
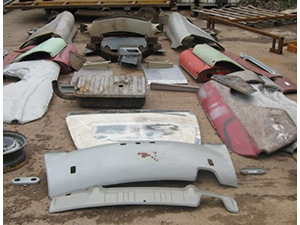
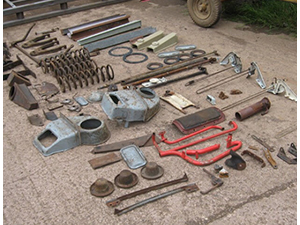
Once the shell is stripped down to it’s bare basics take off all removable panels i.e. doors, bonnets, boot, wings etc.
Restoration Guide - Step Two
Ensure that all Aluminium is removed from the shell - check hinges as these can often look like steel. We can clean Aluminium but this is a separate process and as such Aluminium should be clearly labeled.
Restoration Guide - Step Three
Take time to consider the construction of the shell or panels. To ensure the best possible results it is important to ensure that any box sections are free draining and adequately vented. i.e. a hole or two at the bottom and a hole at the top. These areas are often on the underside or inside the shell and can be readily opened up with a drill and if required closed up again later.
Also consider the strength of the shell. Once the suspension and cross members have been removed it may require some strengthening, particularly with soft tops. This can be done by tacking or bolting a piece of channel between the A pillars and B pillars and then joining these two sections together to form an H shape.
Restoration Guide - Step Four
Consider how the shell will travel to SPL and how we will handle it. Each shell is manually lifted by hand from the customer’s trailer and placed on a pallet on its belly. If you are concerned that the shell may be too heavy to be supported on its floor then you may wish to make a small support frame and weld or bolt it to the shell to lift it up just a few inches. This can usually be simply constructed from mild steel angle but please leave a small gap between the frame and the floor.
Restoration Guide - Step Five
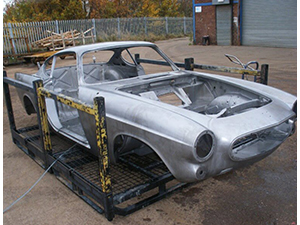
Load up the shell and deliver to us. Every shell is placed in one of our specially manufactured protected process cradles. The shell will not be touched by a crane or a fork lift truck. It will remain in the protection cradle for the entirety of the process. We are very careful with each and every shell and panel we process and we have developed proven systems of handling.
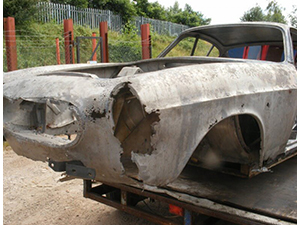
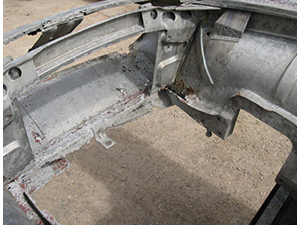
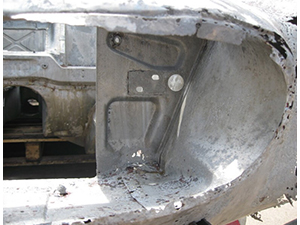
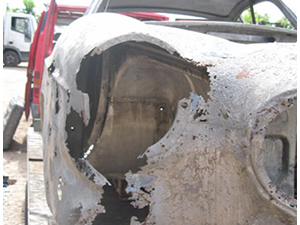
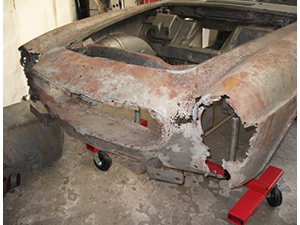
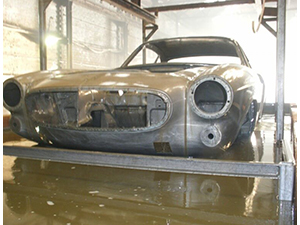
There are hidden beneath even the straightest of shells a history of skirmishes and we will unearth these. Our process will not damage the steel and evidence of earlier repairs and even factory finish are clearly visible once the shell is cleaned.
Restoration Guide - Step Six
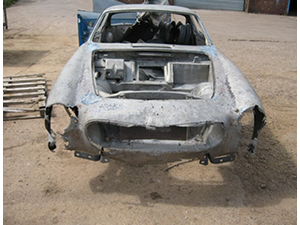
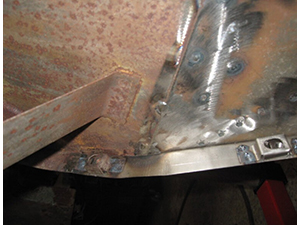
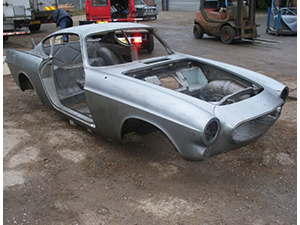
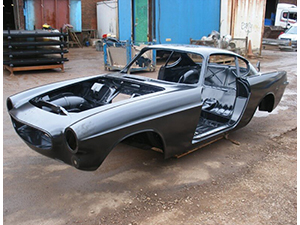
Collect the now bare stripped shell and begin your repairs. Repairs in this condition are generally far easier to carry out as you’ll be welding clean metal to clean metal and not choking yourself on burning paint and sealant. The extent of the corrosion will be clearly visible and you can see in an instant the extent of any repairs or replacements. Any remaining corrosion that even we were unable to remove will be clearly visible and these areas can be readily repaired. Make sure not to weld on any painted repair panels as the paint will need to be removed again before we de-rust it and apply the protection process.
Restoration Guide - Step Seven
Once the repairs have been carried out return the project to SPL and we will pass the shell / panels through the second half of the process once again to remove the surface rust that has appeared since its last visit.
Restoration Guide - Step Eight
Protection. Whether you opt for the SPL Electrophoretic Coating or take it away for spray priming it is important to ensure that particular care is taken to put back protection in those difficult to reach areas. The timely application of modern cavity and seam protection waxes and oils is essential regardless. Make sure the shell is transported and kept in dry conditions. If priming it yourself dry the shell in a paint shop oven beforehand and then fully seam seal before painting it.
To ensure that you get the best results and long term enjoyment from the project then we recommend that the wax and seam protection is carried out at regular intervals and don’t just worry about the underside of the car you must ensure that all the pillars, windscreen surrounds, door seams and upper body panels are treated as well. As a simple rule, Iron + water + oxygen = Rust . If you can avoid the possibility of the three meeting then chances are you can avoid the outcome of the equation!
